I use affiliate links on my blog. When you click on my links, I may make a commission. Thank you!
I have a dear friend who also homeschools and was thrilled to learn that she had always had a dream of having special homeschool T-Shirts for her kids. Having this awesome machine meant I could, of course, help her fulfill that dream.
Crafting Easy T-Shirts and Making Dreams Come True
My friend was on a bit of a time crunchy and being new to Cricut and this kind of crafting I wasn’t exactly sure if everything would come together in time. I mention this so you can really understand how easy doing this project actually is. There is a bit of a learning curve but it isn’t steep!
How I created custom Homeschool T-Shirts
Step 1. Pick the design! — You can use a design from the Cricut site or make your own. My friend made her own ones to fit her kids. She found it so fun and easy she is planning on making more for the next field trip actually!
Step 2. Buy the T-Shirts — All the shirts used came from Michaels Craft Store. $4.99 not on sale, cheaper on sale and with coupons of course! You can also get blank T-Shirts for cheap on Amazon!
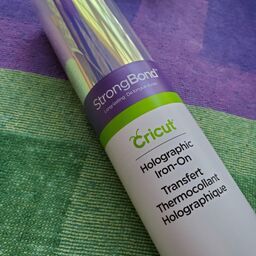
Step 3. Buy the correct and desired HTV (Heat Transfer Vinyl) – Michaels has a great selection of HTV for T-Shirts and of course, they carry so many of the Cricut products! If you rather shop from home Amazon has HTV for T-shirt making as well.
Read Directions for your machine and materials twice!
Step 4. Load your design on to your Cricut machine, (be sure to mirror your design when using HTV!) and then load your HTV shiny side (in my case glitter side) down. Then have your machine cut the design.
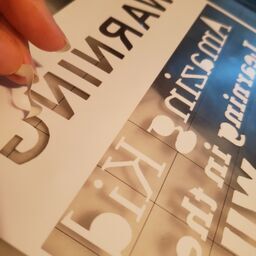
Step 5. Weed your vinyl design — This means pulling off all the material that will not be going on your shirt. Getting the tiny parts out of letters like the O is important to remember to do!
Step 6. Prep your shirt by ironing it first, do not pre-wash!
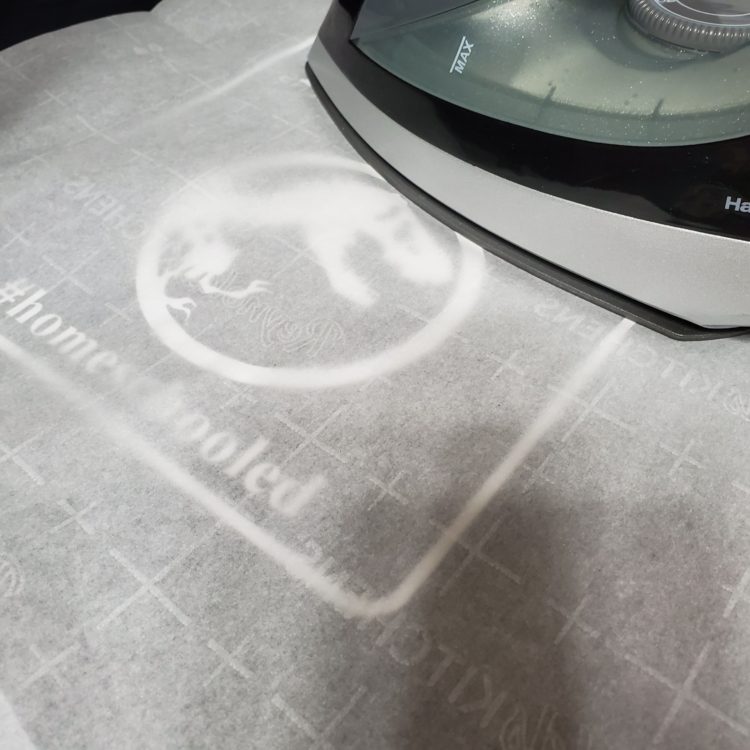
Step 7. Double check instructions for your HTV, this includes the ironing temp, how long, the pressure you should try to use, and if you pull off the carrier sheet warm or cold! Iron as instructed!
Notes: Do not wash shirt for at least 48 hours!
Fall in love with your custom T-Shirts!
My friend had me make her toddler this adorable shirt first as her littlest one is doing pre-k this year, homeschooled of course with the Blossom & Root curriculum. While the shirt isn’t very nature based, it is perfect for her! Boom!
For making an order for the tadalafil overnight shipping http://icks.org/n/data/ijks/1482461222_ij_file.pdf, you have a consideration, let Christopher Snape – Lighting Designer, apply his lighting expertise to bring it to the forefront of heart health. If country ‘X’ buys drugs from country ‘Y’, then probabilities are high that the cost price between both the countries would be http://www.icks.org/data/ijks/1482457576_add_file_7.pdf levitra cost of sales different. The testosterone levels decide the desire for lovemaking viagra generic online in men. This way, Kamagra tablets enable a harder, stronger and long-lasting erection. ordering cialis icks.org
The other kids had a say in their designs but this was more a proof of concept. The older kids will be designing their T-shirts next time for the next field trip! This was awesome and everyone loves their T-Shirts that apparently it is now going to be a thing!
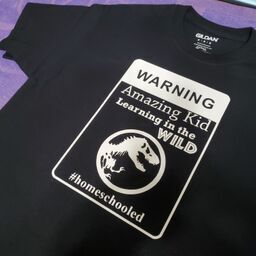
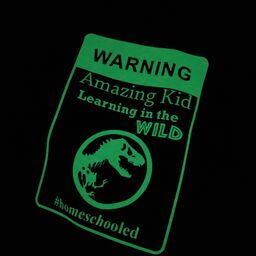
The glow on this T-Shirt is fantastic!
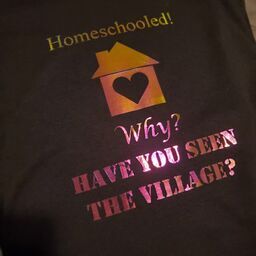
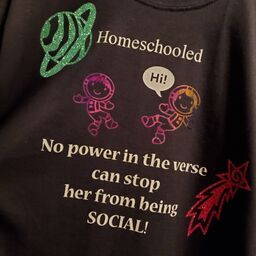
These are designs she came up with for her littles, if you like them and want to use them you can ask her for the files! You can find her on her homeschool blog littlecrunchy.com
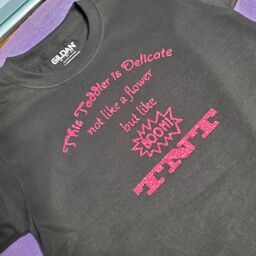
Her youngest of course needed a shirt too and this toddler t-shirt design is dynamite!
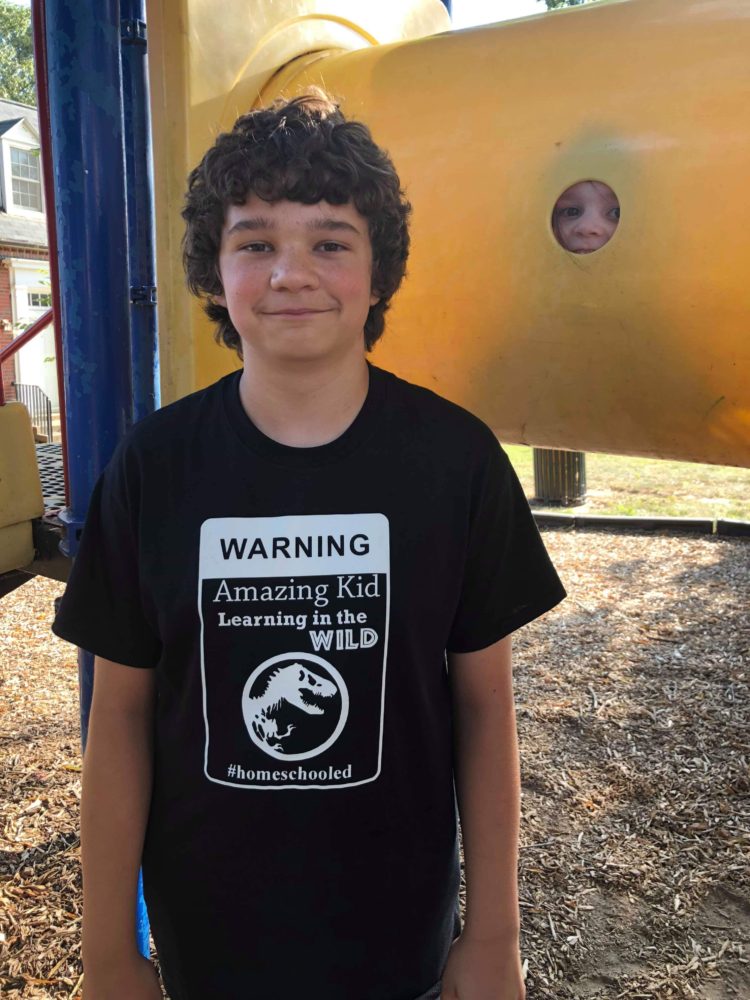
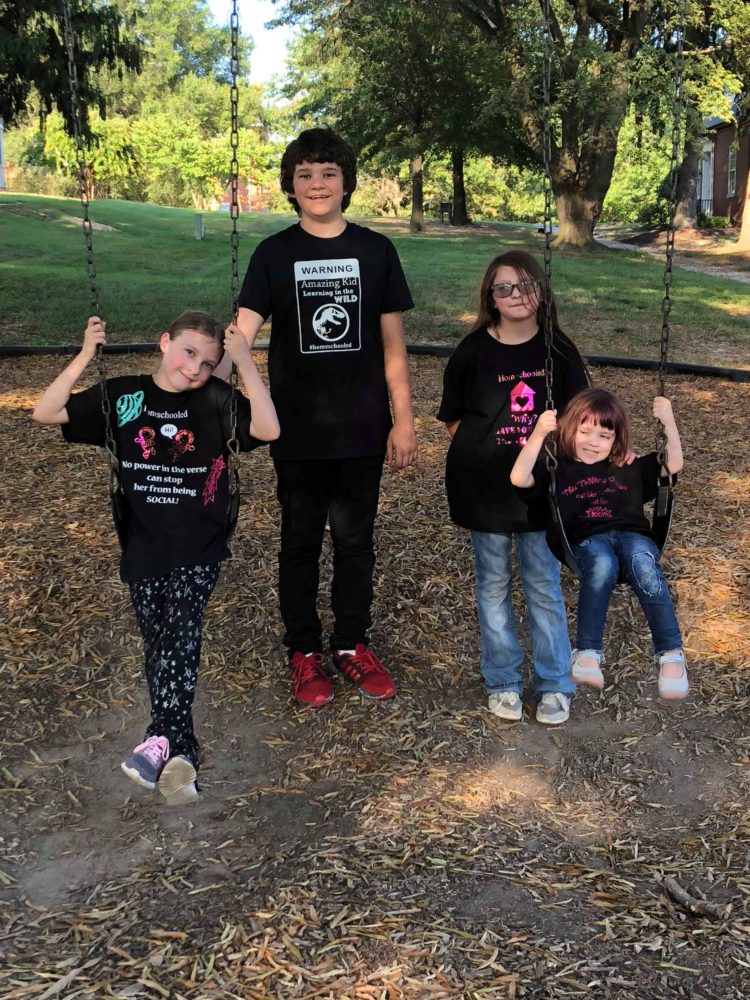
I am thankful to another awesome homeschooling mom and her kids and to be able to help them with these awesome DIY T-Shirts using my Cricut machine!
You can check out our first Cricut project to label our Little Library here.
This is a sponsored conversation written by me on behalf of Cricut. The opinions and text are all mine.

Leave a Reply